2014-09-20

Sailing in Stronger Winds

Sail boarder on Lake Washington

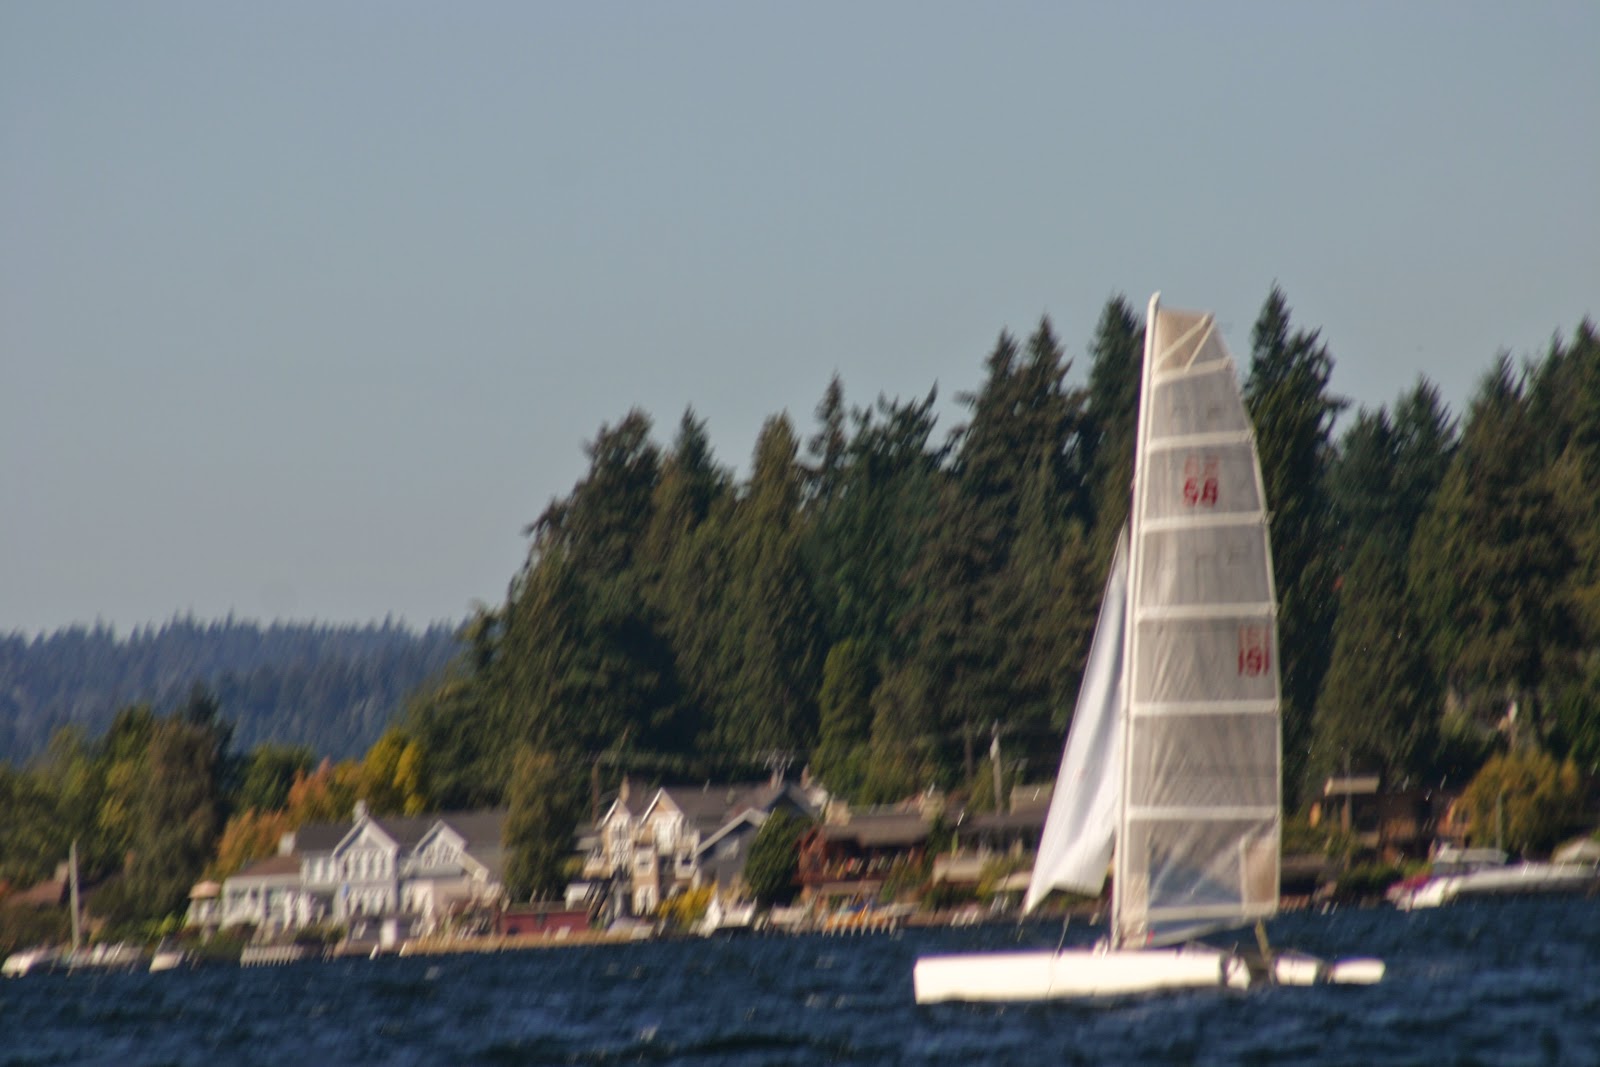
We went out for a sail in somewhat stronger winds than we had before. Although it was a beautiful Saturday afternoon, there were very few boats on the lake, not even power boats. There were, however, quite a few sail boarders. With the winds gusting past 10 knots, the sail boarders were almost literally flying over the water.

A San Juan 27 came by at one point, heading north up the lake.

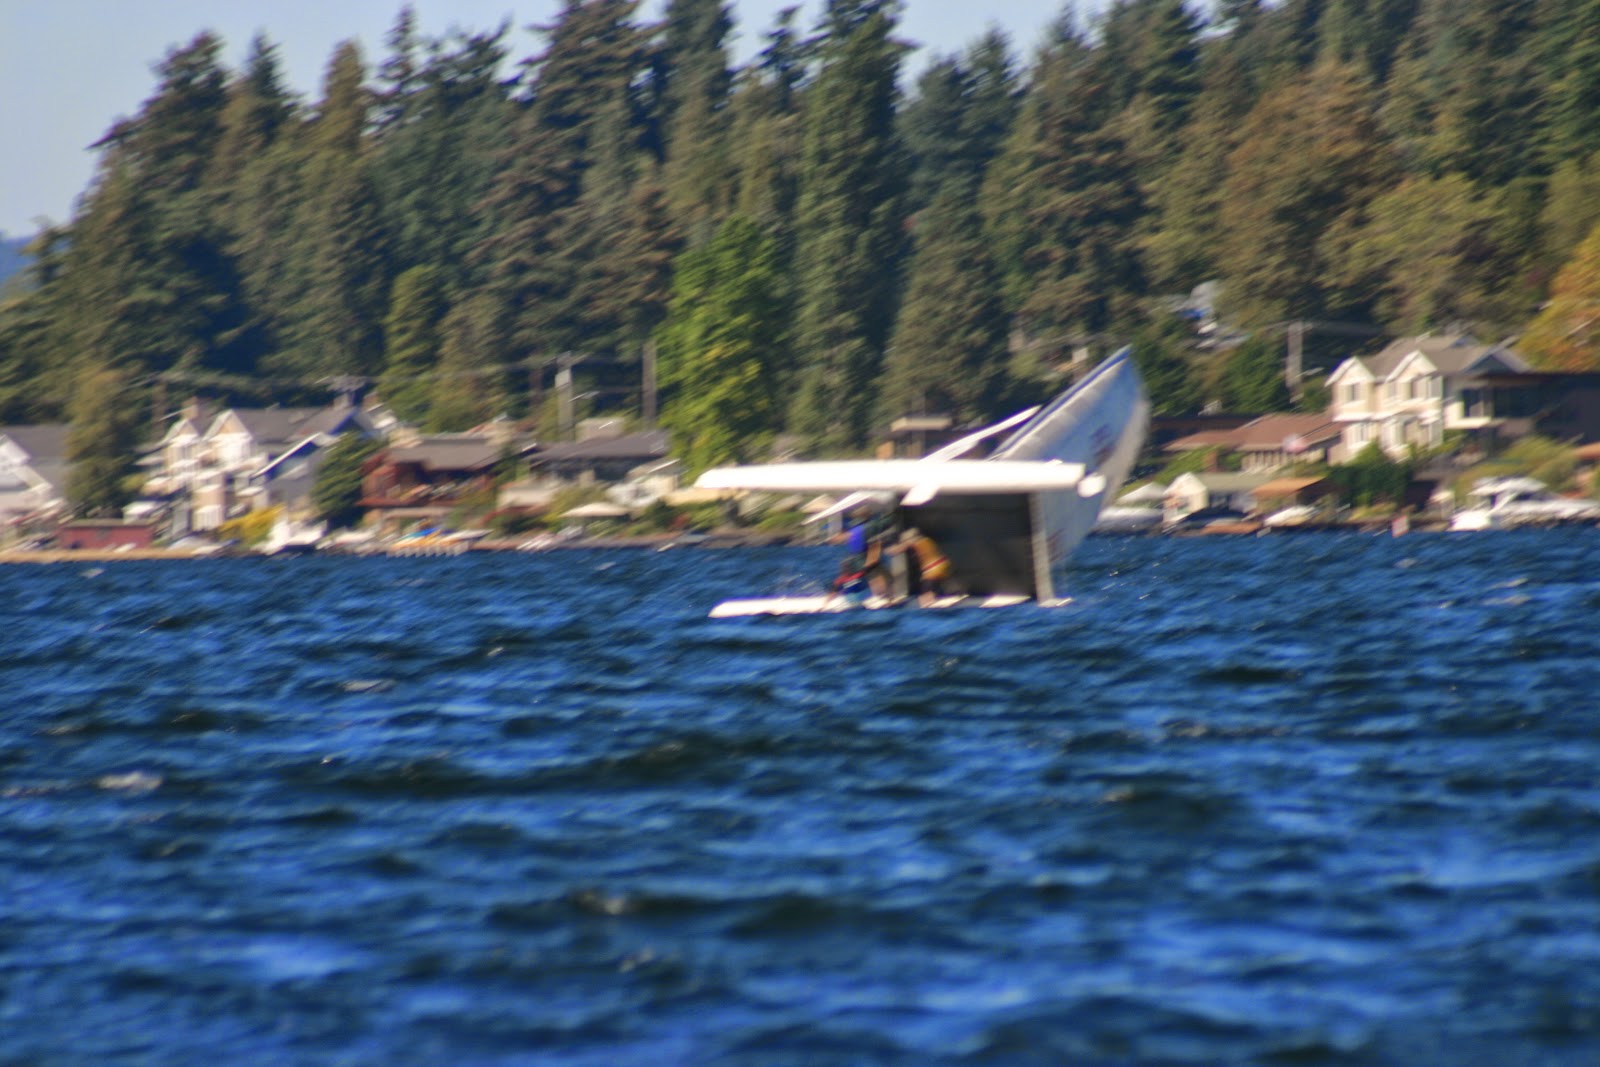
Righting a capsized hobie cat 1

Righting a capsized hobie cat 2

Righting a capsized hobie cat 3

Righting a capsized hobie cat 1
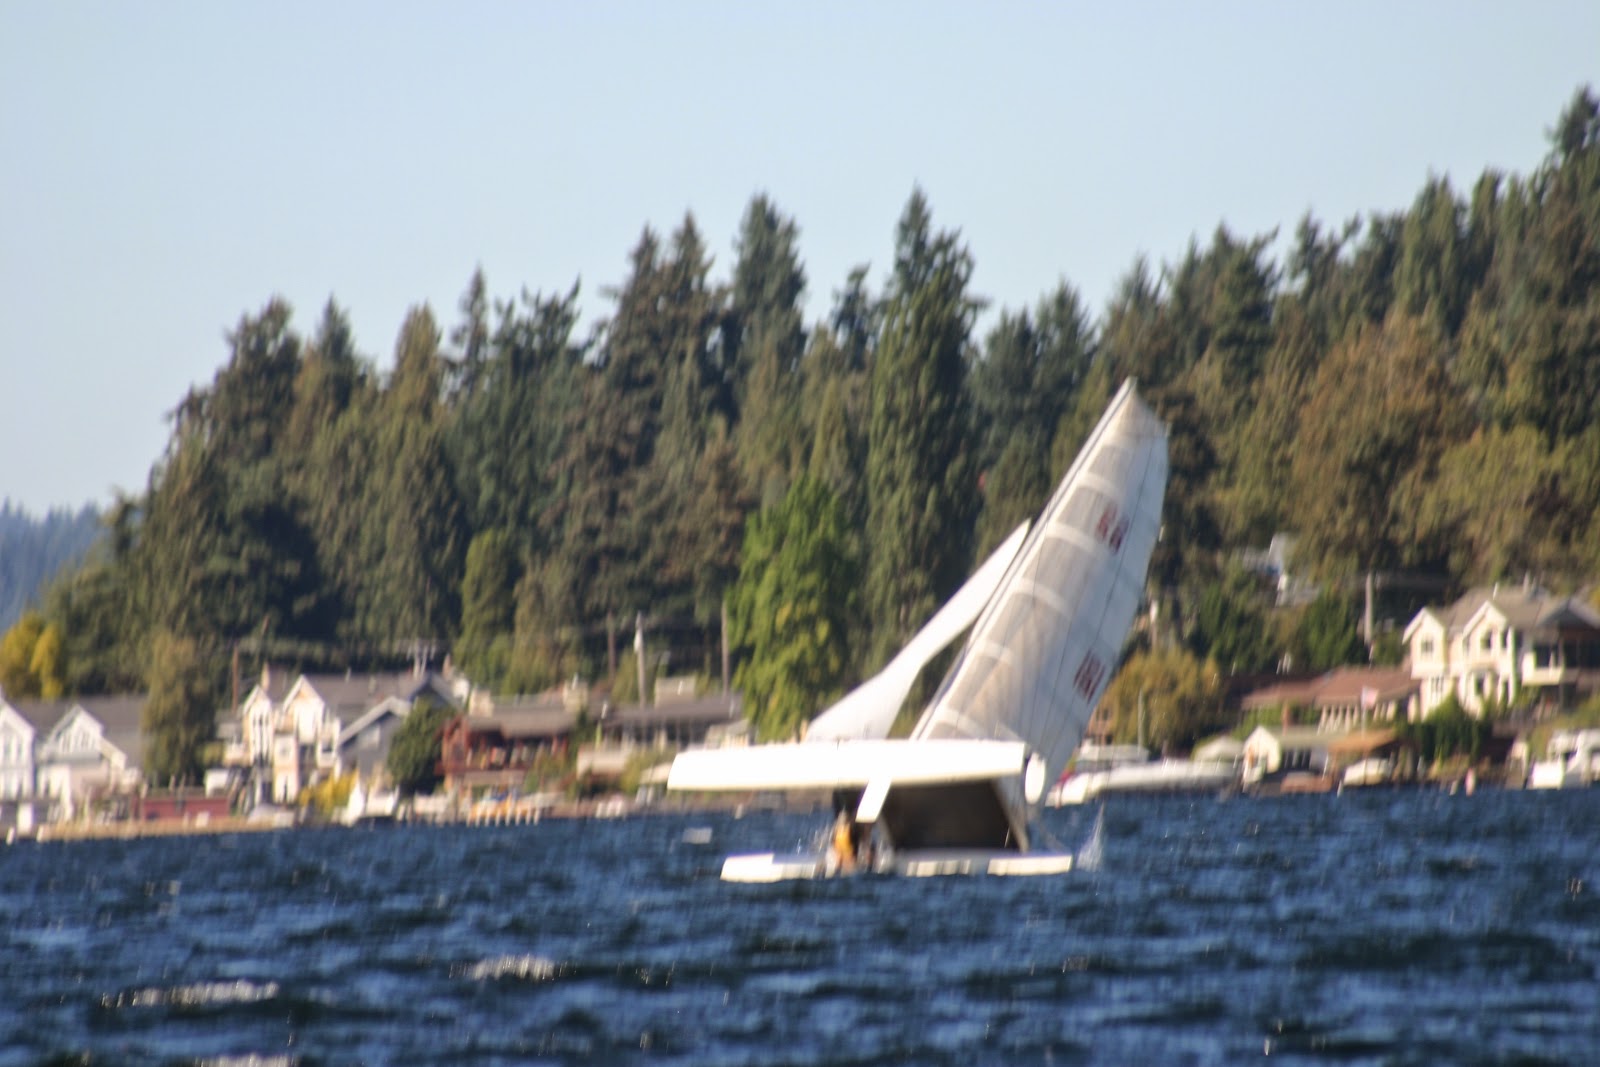
Righting a capsized catamaran

A catamaran was planing at top speed. It tried to make a sharp tack at speed. As we watched, it rose on one pontoon and seemed frozen there for what seemed like a minute, before finally capsizing, tossing the three occupants into the water. We took these photos as they righted it and went back to having fun.

We got our boat up to 6 mph (5+ knots), about 2 mph faster than we had gone before. We managed to keep our speed up through most of our tacks.

2014-09-19

Using the Loos Tension Gauge

After raising the mast, you need to adjust the tension on the shrouds. The Catalina 22 Manual has some rough guidelines for setting the tension, but the best way is to use a Loos Tension Gauge. This tension gauge requires no batteries and gives you a precise reading of the tension on the shrouds.

It is very important to get the tension right. If you do not, you could potentially break the mast in a heavy wind. See this video on what happens when you lose a shroud.

The instructions that came inside the box with the gauge are not very well written. It is difficult to make sense of them and read the gauge correctly. There are some better instructions on the outside of the box. Here are some new instructions written in plain English.

Check the shroud cable diameter
Hook the tension gauge around the shroud
Pull back the lanyard until the metal end is
lined up with the black line, then read
the scale next to the shroud. It reads 22, which
is 180 pounds and the turnbuckle needs to
be tightened.
  1. Determine the thickness of the shrouds. There are little indentations on the side of the gauge that help you do this, and that is all they are used for. Look on the underside for the captions. On our Catalina 22, the shrouds are 1/8" thick.
  2. Hook the bottom of the gauge around the shroud.
  3. Pull back on the string until the arrow at the top of the gauge is at the black line. Don't overextend it or you can damage the gauge.
  4. Read the scale where the center of the shroud crosses it.
  5. Compare the scale number to the chart on the side of the gauge (reproduced below). That is the tension on the shroud in pounds.
Shroud Width
Scale 3/32" 1/8" 5/32"
5 80
10 110
15 150 120
20 200 160
22 230 180
24 250 200
26 280 220
28 310 240
30 350 260
32 400 300 200
34 470 340 240
36 580 390 280
38 750 450 320
40 550 360
42 700 420
44 950 520
45 600
46 700
47 800
48 950

The tension you should use varies, but start by setting all the shrouds to an equal tension. For 1/8" shrouds on a Catalina 22, use about 250 pounds (the scale should read about 29). As you get more experienced, you can play with the tension to find what is right for your boat.

2014-09-08

The Yacht Log Book

We have a written log, in addition to this web site. We went with the Yacht Log designed by Kenneth Mahler and published by Mystic Seaport Museum. A hard-bound book establishes that no pages have been added or removed. This book has columns for the kind of information that we want to keep and the title is very close to the domain name of our site.

We have anyone coming on board sign the guests page in the log. We adopted the policy Mahler suggests:

Experience dictates a simple rule regarding who should sign the guest page: if they are aboard for more than fifteen minutes, guests should be asked to sign the log, and they need do so only once a season. This excuses the brief visitor and avoids multiple signatures of the frequent visitor.

The bottom of each log page lists who was actually aboard that day. We have also adopted the policy that the first entry of each log entry lists the dates since the last entry in the log and appears similar to this:

At Dock. Wednesday 8/27 through Saturday 8/30 no activity.
We then proceed into the current day's activity. This means that every day is accounted for in the log. When the log page is recorded the captain signs the page at the bottom. As Chapman's Piloting says
This authenticated record may be needed in connection with an insurance claim, a law suit, or other investigation. If a boat owner can state under oath that it is his practice to keep a daily log and then present a signed entry for the day in question, he has gone a long way toward legally establishing the situation as seen by him. Be sure that you never make erasures in a log—if you need to correct an item, rule out the old material without making it illegible, and then write in the correct entry if there is space, or make reference to where it will be found elsewhere in the log. Initial the correction and add the date if it is made on a later day.

If you have any suggestions for maintaining a log, please add them to the comments below.


2014-09-07

Sailing in the Shadow of Mount Rainier

We went out for a short sail with friends of our children. Each got a turn at the helm.

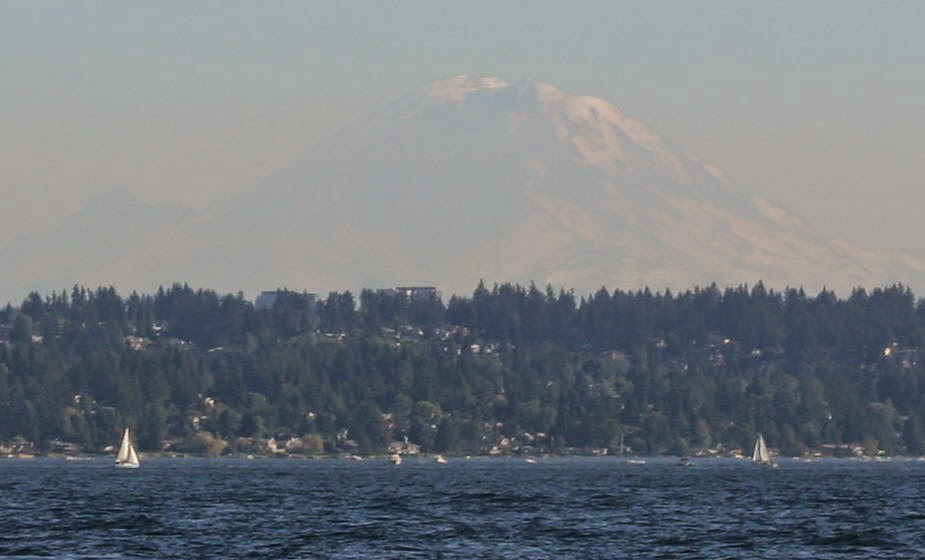
Sailing in the shadow of Mount Rainier

Mount Rainier was visible, or as we say in the Seattle area, "the mountain was out." On many days, there are clouds and you can't see the mountain. There are many other mountains in the Cascade and Olympic mountain ranges visible from Seattle, but everyone knows you mean Mount Rainier when you say "the mountain."

Mount Rainier is the fifth tallest mountain in the continental United States, and is the 21th most prominent mountain in the world. This makes it dominate the skyline in the Seattle area when the mountain is out.

2014-09-01

Dead in the Water

We tried to go out for a Labor Day sail. We got out and hoisted the sail, but there was no wind. It would sometimes kick up a little gust for a few seconds, but then back to nothing. There was a fair amount of wave action on the water, but it was not coming from the wind.

As we were attempting to hoist the mainsail, we managed to snag it and we had to repair a rip. Fortunately, we keep sail tape in the toolbox.

We dropped sail and motored up to the North end of the lake to pick up Greg's parents, hoping the wind would pick up. After bringing them aboard, we headed back into the lake under motor. We raised the sails, but there just was not any wind. There is a name for a sailboat with no wind: a raft.

The motor safety interlock.

We decided to drop sail again and motor back. We ran into another problem...the motor would not start. The pull rope seemed to be jammed. No wind and no motor!

We popped the cover off the motor and took a look, which is when Sandi realized that there is a safety interlock that keeps from pulling the rope while the throttle is not fully at idle. The throttle was cranked up just enough to trigger the interlock. Just twisting the handle back to idle caused the problem to go away.

We kind of have an eclectic set of knowledge. Sandi sailed quite a bit, even sailing Catalina 22s a long time ago, but none of the boats she sailed had motors. The rest of the crew has limited boating knowledge, so we are still making a lot of small mistakes. We still do little things like sitting on the port jib lead when trying to pull on the starboard lead; the jib does not move much! Or forgetting to cleat the mainsail halyard after bringing the sails down, which allowed the slack halyard to get snagged on the mast steaming light. As we all get more experienced, we should reduce the number of these problems.

We dropped the parents off again and motored all the way back to the dock. A very frustrating day for sailing.

2014-08-31

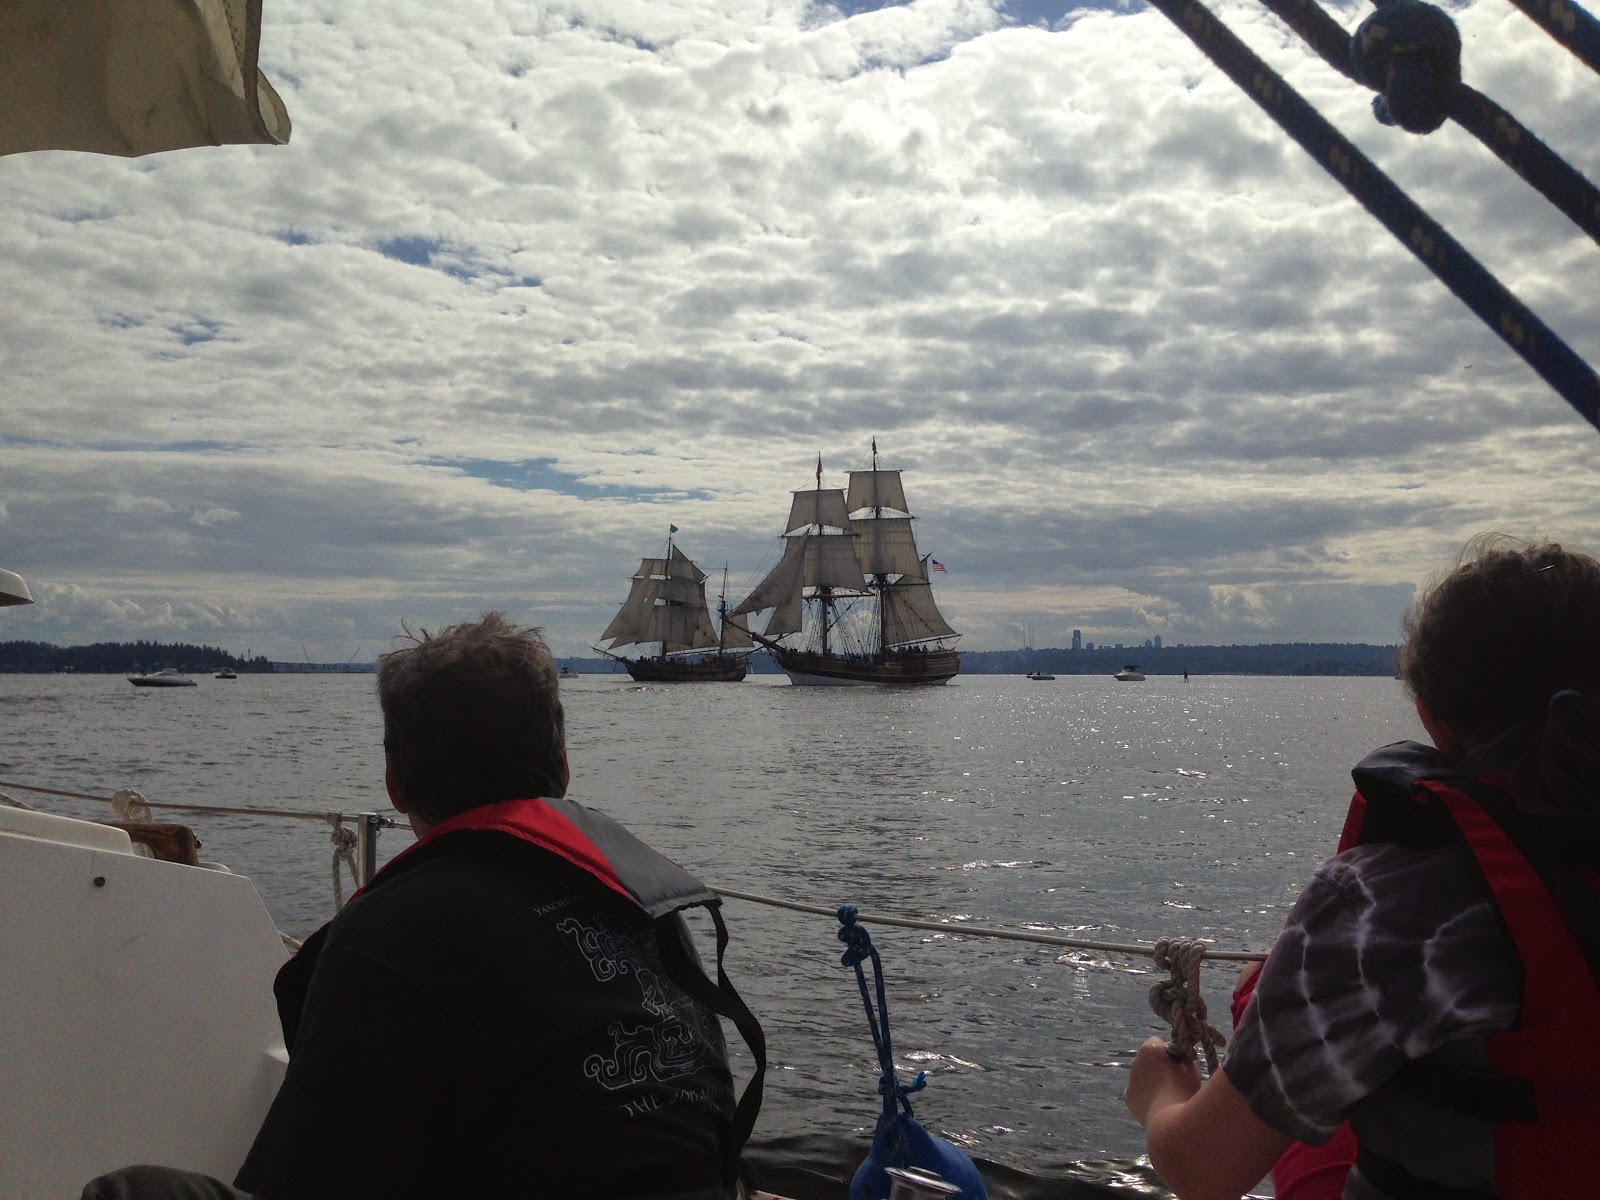
Intercepting the Lady Washington

The Lady Washington
The Lady Washington

In the morning, we drove out and took a tour of the Lady Washington, docked for the last couple of days at Carrilon Point, Kirkland. The Lady Washington is a two-masted brig tall ship with a home port of Grays Harbor, Washington. She is best known as by an alternate name, the HMS Interceptor from the movie the Pirates of the Caribbean: The Curse of the Black Pearl. In the film, Jack Sparrow, played by Johnny Depp, steals her. We will now have to go back and watch the movie again to see how they hid the EPIRB, the radar antenna, and other modern sailing requirements.

The rigging on tall ships is spectacular. There are six miles of line just to manage all the standing and running rigging.

Mock battle between the Lady Washington and the Hawaiian Chieftain

After the tour, we went for a sail in our own boat. Soon after we headed out, the Lady Washington and another tall ship, the Hawaiian Chieftain, sailed out for a classic ship battle on Lake Washington. They circled and fired cannon at each other. Although we started off sailing, as frequently happens, the wind was coming from the direction we wanted to sail...so we had to tack. Just once it would be nice to have a nice broad reach in the direction we want to go!

By about 3 p.m. we dropped sail and motored the rest of the way toward the ships. Shortly after we got to them, the wind dropped to a dead calm. We tried raising sail again, but the wind gods were taking a nap. The tall ships eventually had to fire up their engines to make their way back to port. As was explained to us on the tour earlier, they are 18th century ships that have to make 21st century schedules...so they have engines.

With no wind, we motored our way back to our own moorage.

2014-08-30

The History of Fantasia, Our Catalina 22

Map of Woodland Hills, California
Woodland Hills, California, former location of the Catalina Factory

There were some records that came with the ex-Impulse when we bought her. The records are the Hull ID number, applications for radio licenses, Washington State registrations, and the record of the purchase of the motor. From those records and some Internet searches, we can partially reconstruct the history of the boat.

The boat now named Fantasia was built in January of 1985 at the Catalina plant in Woodland Hills, California. Fantasia was one of the last built "original style" Catalina 22s. (The full history of the Catalina 22 can be found here.)

Map of Sault Ste. Marie
Sault Ste. Marie, between Lake Superior and Lake Huron
Map © OpenStreetMap contributors

By December of 1986 the boat was owned by an officer in the Coast Guard, stationed at Sault Ste. Marie, Michigan. From there is easy access to both Lake Superior and Lake Huron. We don't know if he was the original owner or not, but it seems likely. He was transferred to Seattle in 1987 and brought the boat out with him. The boat has remained in possession of Seattle area owners since then. In 1989 he sold the boat, probably because he was being transferred to the East Coast.

Owner #2 owned her for about 20 years. She bought the outboard motor new in 1990 from a place in Thorne Bay, Alaska. We don't know if the ex-Impulse was sailed up to Thorne Bay, but it is a possibility. You can't get to Thorne Bay by land. There is some indication that Owner #2 raced some. In 2009, she sold the boat.

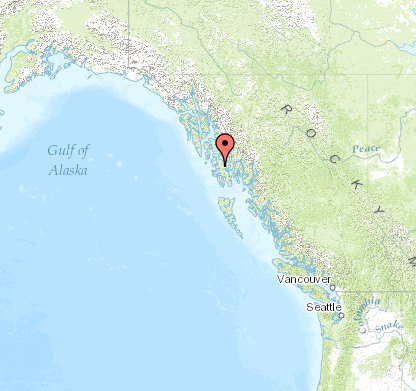
Map of Thorne Bay, Alaska
Thorne Bay, Alaska
Map © OpenStreetMap contributors

Owner #3 owned the boat for about two years. In 2011, he sold the boat to the next owner.

Owner #4 owned her for about three years. He sold it to us in June of 2014. He kept it moored at a buoy in a protected bay in the salt water off Whidbey Island during the sailing season, and on a trailer in the off season.

The story owner #4 told us was that he was in the market for a boat. In 2009, he saw Impulse for sale and decided to buy it. However, he had to get approval from his wife, which he got. When he came back to make the purchase, he found it was already sold. Two years later, he was on Lake Union, when he saw a very nice Catalina 22 for sale. It was the same boat! He bought it.

His sailing partner was his son, who acquired a job in California. With his sailing partner gone, and his wife not a big sailing fan, he decided to sell it. And that is how we became the fifth owners of the ex-Impulse, now named Fantasia.

2014-08-26

Checking Out the NOAA Ship Fairweather

The NOAA Fairweather Hydrographic Survey Vessel

We went out for another quick sail in the evening. As we launched, we noticed that there was a newly arrived very large ship docked at the NOAA Western Regional Center at Sand Point. We decided to sail over and check it out.

The ship turned out to be the Fairweather, a 231 foot 1800 ton Hydrographic Survey Vessel. Its home port is in Ketchikan, Alaska, and its primary mission is to survey the waters in Alaska.

The Flying Js and Lasers from Sail Sand Point were out in force, and we maneuvered our way through them as we headed back north. We arrived back at the dock at dusk.

2014-08-24

Brunch at Beach House Bar & Grill

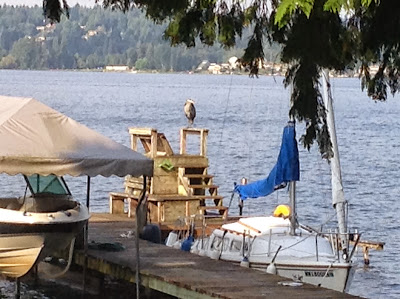
Great Blue Heron guarding Fantasia

We picked up Greg's parents for a sail and brunch. We arrived at Fantasia to find it guarded by a Great Blue Heron. It reluctantly decided that its services were no longer needed when we started putting stuff on the boat.

We headed out to sea about 9 a.m. Our normal routine is that Greg first drops the swing keel, then mans the outboard, keeping the boat headed directly into the wind. Sandi removes the sail cover and gear ties holding the sail. Conner then hoists the mainsail. Sandi then takes her place back at the tiller and after getting turned to catch the wind, unfurls the jib.

We then sailed south toward Kirkland. However, the winds were light, so we were still quite some distance away with our 11 a.m. brunch reservation coming up. We dropped the mainsail again, furled the jib, and motored the rest of the way. We tied up to the Beach House Bar & Grill's dock and headed in for brunch. We had our fill of breakfast burrito, pecan french toast, pancakes, and beachhouse scramble, all very good.

Fantasia tied up to the Beach House Bar & Grill dock

We then headed back out and took a leisurely sail north going back and forth across the lake. At one point we paralleled a Catalina 27, which unfortunately didn't have any easily visible name or sail number. I'm sure we were a pretty sight from the shore.

The weather got to the high 70s. The winds were light in the morning, but picked up a bit in the afternoon. A beautiful day for sailing.

We pulled back into the dock about 4:30 p.m. We've got the docking routine down. We tied up in a new way though, as there is now a fourth point to tie up to. This recently got repaired, giving us this new option. The fourth line keeps Fantasia away from the dock, which lessens the wear and tear on both the boat and the dock caused by the boat wakes and the wind bouncing the boat around. We need the keel up as our moorage is fairly shallow in places. Without the keel down, the boat rocks quite a bit in the elements.

The Dock Edge 3/8-7/16-Inch Snubbers that we bought are working out great. The snubbers take up the tension when the boat rocks rather than yanking on the cleats on the dock or boat. The rubber expands and contracts, giving a gentle play on the line as the boat moves. When you put the snubber on the docking line, it should be placed as close to the boat side of the line as you can. Our lines have a pre-spliced loop at the end, and the splice is too thick to go through the snubber, so we have to place the snubber just a little further down the line after the splice.

Greg worked some more on the wiring up the new panel. We finally figured out that the wiring diagram in the Catalina 22 Owner's Manual does not match the wiring on Fantasia. On Fantasia, the return is a black wire, and the steaming light is a white wire, whereas these are reversed in the Catalina manual diagram. We are not sure if we have the original wiring that is just odd or if it has been changed by one of the previous owners.

The steaming light on the mast is either burned out, or there is a bad or corroded connection somewhere. If the bulb is burned out, we will replace it in the off season when the mast is down. We do not expect to be motoring after dark between now and then.

The West Marine six circuit electrical panel is a fine replacement for the Catalina original panel. It is much cleaner with positive and negative bars built in. When we get all the wiring perfect, we'll write up a page on the complete upgrade.

We confirmed that the VHF radio works. As we suspected might happen, the two entries of a MMSI into the radio had already been exhausted, so it will need to be shipped back to Standard Horizon for a reset. The FCC does not allow end users of VHF radios to make multiple changes of MMSI numbers. This prevents the glutting of the MMSI database with tons of obsolete information. It also prevents malicious attacks on the DSC automated Mayday system.

2014-08-22

Another Quick Sail

Fantasia at sunset
Fantasia at sunset

We went out for another quick sail in the evening. Almost the same route as last time, except this time the wind was coming from the northeast, so the direction we had to tack was different.

We used the running lights on the way in at dusk.

2014-08-20

Out for a Quick Sail

We went out for a quick sail. The nice thing about having the boat docked about seven minutes from the house is that we can just run down and hop on the boat and take her out for an hour or two.

Getting out from the dock was easy today. We just backed her out with Greg on the dock and then brought her around. Greg then hopped on board. Why was it so hard before?

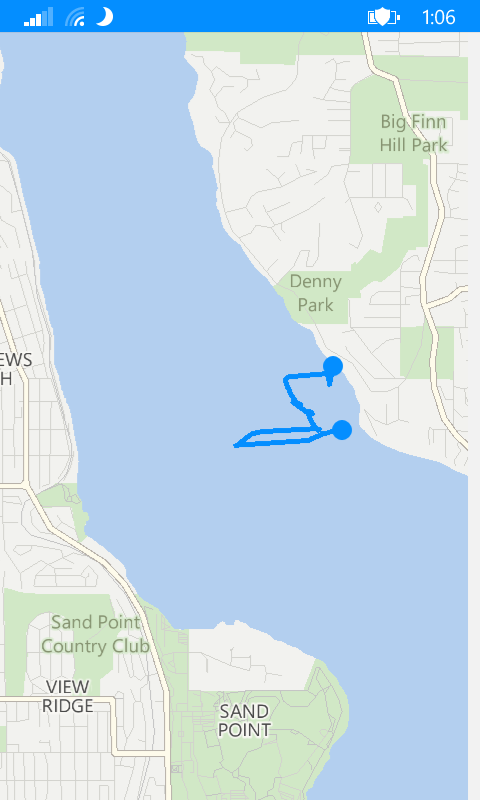
Sail Map 2014-08-20
Route of our sail, starting from the South

Our new boat hook arrived today: Five Oceans Telescopic Aluminum Boat Hook. This hook paid for itself when the main sail halyard got wrapped on the steaming light on the mast and the hook got it off. It performs the job, and the price is good.

While out, we practiced tacking, trying to make it smooth and keep the speed up. The wind was coming from the South this time, which is where we headed.

We also practiced a man-overboard drill. Sandi tossed a fender in the water and we tried to go back and get it. It took a few tries as we circled about it, but finally we got close enough and hooked it with the boat hook.

While we were out, Greg worked on the wiring up the new panel. It's not right yet, but we at least verified that the running lights and the interior lights work. We are not sure about the steaming light yet. It may be that the bulb is burned out, or something may still be wrong with the wiring. Also the VHF radio isn't connected right yet.

We pulled right into the dock. No problems at all.

Greg tried a new app on his Windows phone. Using Bing Health and Fitness, he turned on the mapping of where we went after we were underway. The map shows our route.

2014-08-17

Sailing North toward St. Edwards Park

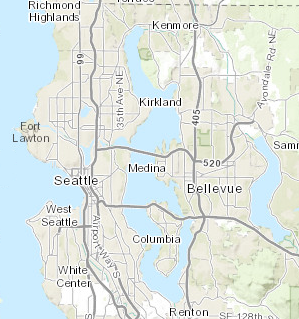
Map of Lake Washington
Lake Washington (from USGS sources)

In the morning, we hit up West Marine for more stuff. We got another type II auto inflating life vest, a chart for Lake Washington, a 50' dock line, and a new electrical panel. More on the electrical panel on an upcoming post.

The chart for Lake Washington is nice to have, but Lake Washington is pretty easy to navigate. Unless it is completely fogged in (which is rare and we'd be unlikely to be out), there is never a time when you can't see the shore. There are good landmarks on the shore. The lake is about 26 miles long and about one to four miles wide. Carved by glaciers, the depth is predictable, and it is about 200' deep at the center. There are few obstructions and navigation markers in the water. Still, it's good to have a chart. The boat came with one for Puget Sound which probably we will not use this season.

>[?There are various obstacles that won't appear on a chart. There are frequent sea-planes taking off or landing on the North part of the lake. There are the typical power boats and jet skis. The power boats are frequently towing inflatables, and less frequently water skiers. Kayaks, sail boarders, paddle boarders, and the occasional swimmer are frequent. There are a relatively small number of sail boats out on the water. The sail boats on Lake Washington are Lasers and Flying Js (mostly rented at Sail Sand Point across the lake from our moorage), a few Hobie Cats, and a smaller number of larger boats up to about 40 footers. Most sail boats larger than about 40' would be on Puget Sound, not on the lake.

We went out for a sail, leaving about 2 p.m. Heading out from the dock was better than yesterday's sail, but we again tried to point out to sea too soon and came close to the hydraulic boat lift. We should back all the way into the lake under motor before turning around.

We sailed North toward St. Edwards park, tacking across the lake at a leisurely pace. The wind was good at about 6 knots, and the weather low 80s and clear. After when we turned around we sailed downwind at about 3 mph back to the dock.

Coming back in was much easier this time, with one exception. After dropping Greg off at the end of the dock, Sandi motored around and started pulling in. Suddenly the boat came to a stop. DOH! Have to winch in the swing keel. The draft with the keel down is 5', but the water is shallower than that near the dock. The bottom is sand and small rocks so no damage done. With the keel up, the draft on a Catalina 22 is 2'. After lifting the keel, docking was easy, especially compared to the day before.

We're starting to get the hang of this.

2014-08-16

Sailing South Toward 520 Bridge

We went out for a sail, the first time leaving our new moorage. Our moorage is a little tricky. We have a swimming platform, a hydraulic boat lift, and the remains of a pier to avoid. The water is relatively shallow. This was a learning experience on guiding the boat with a line from the dock while motoring out, trying to avoid all the obstacles. This is also hard to do when the wave action and boat wakes are working against the boat.

We finally got out and sailed downwind almost to the 520 bridge. Winds were light. Temperature about 82°F. On Lake Washington, the winds usually come from the North, so if we head South, we need to tack back. The winds picked up as we neared our point where we decided to head back. We had beautiful conditions for sailing, lightly healed over.

Our backstay was a little loose, so we tightened that up and checked it with the tension meter. This helped with the management of the furling jib.

Coming back in was difficult. We pulled in to the end of the dock and dropped Greg off with some lines. We then tried to avoid all the obstacles coming back in. We did not do it right and had great difficulty and needed several attempts. We learned it's better to just motor in, without lines until the last minute, finally guiding it into place. It, however, was entertaining to the people on the shore when we struggled to manage a boat.

We finally got in and tied up without any damage to the boat or dock, so we considered that a success. All in all a fine day of sailing surrounded by a few embarrassing moments near the dock.

Naming Ceremony

We officially renamed the boat from Impulse to Fantasia. We more or less followed the script found here. Before putting the boat in the water, we had covered the old name with paper towels held on with blue painting tape. We then performed the ceremony with champagne, while the kids got non-alcoholic sparkling cider. We don't drink much, so the champagne was actually left over from our wedding six years before. It seemed appropriate to use it for the purpose, since this is another adventure.

After the old name had been stricken from Poseidon's logs, the new name was revealed and the name added. Then appropriate offerings were given to Poseidon and the winds.

With the boat in the water and the name officially attached, we were ready to go sailing!

2014-08-11

Encounter with a Bald Eagle

Bald Eagle
Bald Eagle (Photo by Yathin S Krishnappa CC BY-SA 3.0)

After Sandi got off work, we went down to check the boat and make sure she was doing okay. As we were walking to the dock, Greg startled a huge adult bald eagle down at the water line. It was about 15 feet from him and about 30 from the boat. The bird flew away. It must have had about a seven foot wingspan and a gorgeous white head and tail.

We had noticed a fish on the dock a few days earlier, so it had probably caught one and was eating it.

There are now quite a few bald eagles in the area, fishing from where the Sammamish Slough enters Lake Washington. Their recovery is amazing. There were only 417 breeding pairs in the lower 48 states in 1963. Now they aren't even on the Endangered Species List. Greg remembers when the first bald eagles came into the Puget Sound area after their recovery. Now we can see them flying overhead on most days. However, this was by far the closest we've ever come to a wild bald eagle.

2014-08-10

New Mast Raising System and Finally at Moorage

Moored
Fantasia at moorage after sunset

In the morning, we built the new mast raising system. It not only has the gin pole, but a mast stepper in the aft of the boat so that it can be raised without having to do a lot of lifting. Using the boom pulley, it should take tugging on a line to get the mast up in position ready to be put into the mast step.

The mast stepper raises the mast high enough so it rests without touching the cabin sliding door. The roller allows sliding back with little effort. We need to make a few tweaks to move it just a little further aft in the cockpit so that we don't have to lift the shroud spreaders over the mast stepper supports when moving it into position to put the mast pin in place. As soon as we have all the bugs worked out, we will post complete plans with parts list and pictures and everything.

Building all this, with measurements, trips to McLendons for hardware, Home Depot for wood, and adventures with power tools took a good part of the day.

When everything was in place, it just took about a minute to crank the mast upright. We then had to launch on a crowded boat launch. All the power boats were trying to come in from the weekend as we were trying to launch. This was our second successful launch, and we are learning a little each time. This time was mostly smooth. From arriving at the boat launch to motoring away took 1.5 hours with just two people. Better than the five hours last time with four people. We are sure we can get it under an hour with a little more practice.

We then motored to our moorage, about four miles away. We got there just before sunset, which was good because we still don't have working lights (more on that on a future post). We put out a bunch of fenders and tied up. Greg snapped the picture as the last of the light was fading and we walked away from the dock.

2014-08-09

Dock Preparation and Attempted to Get In the Water

The dock was being prepared for us to arrive by our contractor and friend Chris. He fastened 2x6s to the dock and put four extending down into the water. This part of Lake Washington gets pretty heavy wake and wave action, so making sure that the boat doesn't wind up rolled under the dock is important. The deck of the boat is about even with the level of the dock. Rubber cushioning material was fastened to the wood to lessen the impact of the boat hitting the dock.

We attempted to get Fantasia in the water, so that we could get her down to our new moorage. We failed. We were down at the boat launch preparing the boat for sailing. As we were preparing to raise the mast, Greg let go of the gin pole for a moment. The gin pole was made of a 2x4, and had already started to split along where we cut a recess for the mast. Even though the jib halyard and the winch line were supporting it, it split entirely. We decided to quit for the day and build a better gin pole out of a 2x6.

Trailer light
Trailer light

Earlier in the day, while hooking up the trailer, we realized that the left turn signal wasn't working. It was working the last time we tried. After some investigation, we found that the seal around the light fixture had failed and when we launched the boat the last time that the bulb had shattered in the water. We have since learned that it is a good idea to unplug the lights while actively launching the boat.

We got a new light bulb and some silicone sealant from O'Reilly Auto Parts. We placed silicone sealant on top of the rubber gasket on the plastic surround for the light bulb. This should keep out the water. The light now works.

Repairing the Tiller on the Catalina 22

Fixed tiller
End of the tiller, showing the bolts.
The center one doesn't have the nut.

We made a repair to the tiller. The three inches closest to the rudder had rotted out and the laminated wood had split at a seam about six inches down the length. A new tiller costs about $130, so we decided to try to repair the tiller we had. We removed the plates that hold the tiller to the rudder, which is held on by three bolts and nuts.

We then glued the split with Elmer's Carpenter's Glue and clamped it with C clamps. After it dried, we then cut four inches off the end of the tiller. Finally we drilled two new holes further down the tiller and reassembled the whole thing.

Fixed tiller
The repaired end

The tiller is four inches shorter, which means there is a little less leverage on the rudder, and it will require a little more effort to move the rudder around. Eventually, we will probably buy a new tiller. But for the moment, this saved $130 and it is almost as good as new. We still need to slap some varnish on the end or by next year we'll have to whack off another four inches!

Rotted tiller end
The rotted end after being cut off

2014-08-08

Put the New Vinyl Name on the Boat

Adding vinyl name to Fantasia
Applying the vinyl name to the boat

We applied the new name to the boat on Thursday and Friday. We ran out of daylight on Thursday, so only got one side on. We finished the job on Friday.

We used the technique found in this video: https://www.youtube.com/watch?v=6pZi0Yjg3jw, which is basically pretty helpful.

Applying the home port was a little trickier than the main name of the boat because the letters were a very thin script instead of a large bold san-serif font. We had to be extra careful that parts of the the letters didn't stick to the backing paper when we removed it. If we had to do it over, we would have chosen letters that were a little thicker. Maybe a bold font.

We will hold the new naming ceremony later.

As said before, the remnants of the old name should fade with time. If not, we will perform some more aggressive techniques to remove it.

Final Fantasia naming
The final result

2014-08-07

Obtaining a MMSI (Maritime Mobile Service Identity) for the VHF Radio

Standard Horizon Eclipse DSC GX1000S

The VHF Radio that came with Fantasia is a Standard Horizon Eclipse DSC GX1000S 25 Watt VHF/FM DSC Marine Transceiver. Since this radio has DSC (Digital Selective Calling), it can radio in a distress call essentially with a touch of button. However, to use it, a MMSI must be registered with the FCC. There are various requirements to get a MMSI, but for a Catalina 22 being operated as a pleasure boat, one may be registered for free.

The easiest way to do this is with BoatUS. You fill out a couple of online forms, and it assigns you a MMSI immediately.

However, if we ever take the boat to Canada, we need to remember to get a new MMSI directly from the FCC. The reason is that the MMSI received from BoatUS is only placed into a US national database, not the international database. So a distress call placed with the MMSI in Canada will not be found in the database that the Canadian coast guard would use. It is conceivable that we will sail to Victoria or Vancouver BC at some point. Until that time though, the US MMSI will work fine.

The radio has an interface for a GPS, but it isn't built in and the boat didn't come with one. So a distress call will not give the location unless we get one.

We learned that most of the VHF radios don't let you make a lot of changes to the MMSI. The radio we have only lets you make two changes before you have to send it back to the manufacturer. We don't know whether we need to do that yet, as we have some electrical issues to resolve first.

2014-08-02

Impulse No More—Renaming the Boat

The new vinyl decals for the new boat name arrived from signspecialist.com. We spent several hours removing the old decals. Halfway through the removing the decals, we realized that if we had renamed the boat from Impulse to Imp instead of Fantasia, the rename would have been easier!

Many people recommend using a hair dryer or heat gun to remove the old decals, however we found it really didn't make the job easier. The best tool was just a fingernail, or a cotter coil if your fingernail wasn't strong enough. If we were lucky, it came off in a sheet. After removing the letters, we cleaned up the adhesive with a razor blade and WD-40. There are lots of recommendations for other products to clean up extra adhesive, but Greg has always found that WD-40 works great.

One minor tip: Take off any rings you are wearing when working on the hull. Greg noticed his wedding ring making marks on the hull.

There is still the image of Impulse on the hull in a dull yellow. The rest of the hull is a bright white. From what we've read, this is normal, and the yellow turns white eventually when exposed to sunlight, although it might take as much as a year. We have noticed the same phenomena where the boat number decals were when we replaced those and the hull is already turning white. It seems counter intuitive that the boat would be yellow underneath vinyl and change to white instead of the other way around, but that is what seems to happen—something about how fiberglass reacts with sunlight.

We have yet to apply the new boat name. I don't know that we will do the whole boat re-naming ceremony written up here, but we should probably do something.

The decals were relatively easy to order. Although signspecialist.com has different parts of the web site for truck decals and boat decals, they are all the same in how they get produced (I asked). The truck decals part of the site allows more customization, allowing uploading fonts and specifying things such as drop shadows and blends. We spent lots of time playing with the colors of the blend to get it right.

The decals came about five days later rolled loosely in a direct mail box. Since we don't have them on the boat yet, we are looking at them through the paper, but they look great. We will see how they go on and hold up soon.

Moorage

Look for flying pigs out your window. It looks like we'll have moorage for the summer on Lake Washington a few minute from the house for a very reasonable price! We will have to do some minor improvements to the dock before mooring it there.

It was recommended that we buy some snubbers to reduce the stress on the boat and the dock. We went with these:

Dock Edge 3/8-7/16-Inch Snubbers

We'll post a review when we get them and let you know how they work out.

2014-08-01

Catalina HIN and Boat Insurance

We acquired boat insurance from BoatUS. The rate was pretty reasonable, and covers both the boat and the trailer. One of the questions the insurance guy asked was the HIN (Hull ID Number) of the boat. While researching it, I realized that the HIN on the title for the boat didn't match the pattern of the Catalina HINs and couldn't possibly be right.

A HIN is the boating equivalent of a VIN (Vehicle ID Number) on a car. It is supposed to be a unique identifier that is permanently attached to the vehicle. On a Catalina, this is scratched by hand (literally) into the fiberglass on the transom of the boat while the fiberglass is drying. It is in the upper right corner of the transom and very hard to see.

The guy scratching it on our boat had bad handwriting and it is hard to read. You'd think they would use a better method for something so important. Whoever applied for the title for the boat years ago misread it, and probably read it over the phone after that, because the last four digits were completely mangled on the title.

The pattern for Catalina 22s 1985 and later is:

CTYH9999X999

CTY = Catalina
H = 22 (Model #)
9999 = Serial Number truncated to the last 4 digits (this should match the serial number plate inside the cockpit)
X = Month built A = January B=February ... L=December
9 = Last digit of year of manufacture (5 = 1985, 1995, or 2005)
99 = Model Year (85=1985) Model year starts in August

Since the HIN was mangled on the title for the boat, I needed to make a rubbing of the HIN from the boat itself (rub a pencil across a piece of paper over the HIN). Then I presented that to the licensing people. Since we are both on the title, we both needed to be there with photo ID. The cost was $17 for a new title, which should arrive in about four weeks.

2014-07-30

Looking for Moorage

We are trying to find a place to moor the boat. While our mast raising system works, it is still a pretty labor intensive operation to make the boat ready for launch and put it back on the trailer at the end of the day. It would be much better if it was in the water for the summer. Or alternately in dry storage on land, with the mast up.

Unfortunately, every slip in the north end of Lake Washington seems to be full. Ideally, we'd find a slip for about $200 a month, five minutes from our house, for May through September each year. And pigs can fly.

We went out and looked at a slip on Portage Bay, between Lake Union and Lake Washington. We also looked at using dry storage at Sail Sand Point. The Sail Sand Point dry storage only allows hand launch boats. Ours is a little too big for that. There is another dry storage place in Bellevue, but it is undergoing maintenance and closing for a time.

2014-07-27

Back on Land

After another fabulous day, we pulled her out.

Trailer Winch Repair

Winch with new strap in place

While the boat was in the water, it was time to repair the trailer winch. The winch had a 3/16" metal cable with an eye and hook at the end. The cable at the eye had broken. This was temporarily fixed by tying a knot in the cable around the hook, which was enough to get the boat into the water, but not good for the long term.

We decided to replace the cable with a hitch strap. At times that cable has a fair amount of pressure being applied to it. If the cable ever snaps because it is old, a whipping cable could damage something nearby, such as fiberglass or a person's nose. Also, it is likely that the eye repair would fail again, causing other problems at an inopportune time.

We bought a new 2" x 25' 10,000 pound winch strap at North Lake Marina in Kenmore ($19.95 + $1.90 tax). Possibly overkill for what we are doing, but Greg really likes to have overspec hardware.

Greg removed the cable from the Fulton two-speed winch with a pair of pliers. But putting the new cable strap on wasn't going to be easy. Normally for a winch strap, there is a bolt that you thread the end of the strap over. However, this winch was made for a cable, not a strap, and there were no holes lined up on both sides of the winch to put a bolt through. Greg drilled a 3/8" hole through the side of the winch. He then acquired a 4.5" x 3/8" galvanized grade 8 bolt, two fender washers, and a nut at McLendon Hardware in Woodinville. (McLendon has a better selection of hardware than Home Depot or Lowe's) Total: $1.85 + $0.18 tax. Turns out a 3.5" bolt would have been long enough, but the purchased bolt worked without binding to anything.

With the new hole drilled, the bolt was threaded through the winch, two fender washers and the end of the strap. The new strap works great.

2014-07-26

She Floats! Putting the Catalina 22 in the Water

First launch was a success! The day was not without its share of hiccups, which we've been warned is standard operating procedure, but it was a great day nonetheless.

Not only was it our first attempt at launching our new-to-us boat, it was our first attempt at launching any boat...Ever. We were of course a little nervous. We had gone over all the things we'd need to do the night before and made lists. We got up super early, dragging ourselves and the kids out of bed, excited by the prospect of a fun day out on the water, a new adventure for us all. We were blissfully unaware of all the things we didn't yet know!

Once the trailer was hooked up to the car, we drove down to the boat ramp, arriving before 6:30am, to make sure we'd be able to get our choice of parking spots from which to step the mast. Trailering the boat with our Caravan is pretty much right on the limit of what it can handle, but as the trip is less than 3 miles from house to boat ramp, it's very doable. Backed in, wheels chocked, ladder set up and cabin open. We set about the task of raising the mast. With the mast propped up and walked back, the mast bolt went in without any trouble. We started hooking up the gin pole, but soon realized we couldn't get the jib halyard to budge. With the mast head now well out of reach from the boat or the ground, we scratched our heads for a bit before realizing the 2 inch strap securing the gin pole to the mast had been accidentally wrapped around the jib halyard as well, underneath the mast and out of sight!

With the jib halyard freed, the mast went up relatively easily, alternately cranking, then stopping a couple of times mid-raise to free shrouds that were determined to get caught on each and every protruding cleat, cam or bolt on the deck. With our mast raising system, only the two forward shrouds and the rolling furler jib (which incorporates the forestay) have to be removed and reconnected/retensioned. We'd decided that for our first run, we'd just get the boat off the trailer and motor over to a nearby public dock and hang out, and tie up for the night in another nearby marina's guest moorage. With the mast up and secure, we started loading the rest of the things we'd need for our day out. Water, check. PFDs, check. Lines, check. Keel raised, check. Gas can.......gas can......DOH! We drove off this morning without loading the gas can, kind of a must-have for motoring. We quickly unhooked the trailer from the van and Greg drove back home to get the gas can.

While waiting for Greg to return, a very nice and curious guy named Charlie came over and asked me about how we went about raising our mast. Charlie it turns out also has a Catalina 22, in the water just a few houses away from the boat launch. I showed Charlie the pieces of our mast-raising system, explained the mechanics of it and gave him my email address to send him a link to the construction details. Little did I know that just a little while later, Charlie was going to be my guardian angel!

....to be continued

Fantasia under sail
Fantasia under sail, with a Kenmore Air seaplane taking off and kayakers

2014-07-25

Connected the Trailer to the Van

Raised hitch mount
Raised hitch mount

We have a Dodge Caravan. This is not the ideal vehicle for hauling a boat around. For one, its maximum towing capacity is 3500 pounds, which is near what we are hauling around. We probably wouldn't want to tow the boat across country, but it is fine for taking it a few miles around here.

Second, it is front wheel drive. Towing a vehicle usually works best with a rear wheel (or four-wheel) drive vehicle.

Third, is is close to the ground, especially the trailer hitch.

When we went to put the trailer on the van, we found that the straight hitch mount we had put the trailer too close to the ground. We needed one that brought the trailer up about four inches. We headed off to our local U-Haul for a new hitch mount. After we got there, we realized that the hitch mount that raises the trailer up four inches is also the one that lowers it four inches...you just mount the ball on the other side. It just so happened we had one of those at home with the ball on the wrong side for what we needed.

After spending half an hour with some monkey wrenches, we got the ball off and moved to the other side and remounted. Problem solved! When connecting to the trailer, it's at the right level now.

2014-07-22

Sanded the Teak

Sanded down the teak. This is a job in progress and will continue over time.

Catalina 22 teak hand holds, nicely sanded

2014-07-20

Cleared the Drains on the Catalina 22

The Catalina 22 drains. Clearing these from time to time is necessary.

The Catalina 22 has two drains in the forward part of the cockpit that empty into plastic pipes below deck. These then empty through a seacock into the volcano under the boat. The holes in the drains are fairly big, and quite a lot of debris accumulates in these plastic pipes. One side was completely clogged, and the other was mostly clogged, keeping water in the cockpit. We detached the hoses and cleaned them out.

2014-07-19

Raised the Mast on the Catalina 22

We tried out our mast raising system. With some problems to solve, it worked! In the picture you can see the gin pole attached to the front of the mast.

Catalina 22 with the mast raised
Sandi and Fantasia, with the mast raised

2014-07-18

Vessel Registration Numbers

In Washington State, each vessel that doesn't have a Coast Guard registration must be assigned a state Vessel Registration Number. Catalina 22s are too small for Coast Guard registration. The rules for the registration number are specified in WAC 308-93-145.

Section 3 says:

(3) How do I display the assigned vessel registration number on my vessel? The registration number assigned must:
(a) Be painted on or permanently attached to each side of the forward half of the vessel and easily visible for law enforcement except as allowed by subsection (6) of this section or required by subsection (9) of this section and must be on a vertical surface;
(b) Be in plain vertical block characters of not less than three inches in height;
(c) Contrast with the color of the background and be distinctly visible and legible;
(d) Have spaces or hyphens that are equal to the width of a letter other than "I" or a number other than "1" between the letter and number groupings (example: WN 5678 EF or WN-5678-EF); and
(e) Read from left to right.

The numbers on our boat are not right as there are no spaces between the groups. We will fix our numbering next year when we get the new annual registration stickers, as we cannot move the ones for this year. We will get the annual registration stickers in exactly the right spot and then put new registration number stickers on the hull with spaces or dashes.

Trailer Hitch Wiring Installed

Trailer hitch wiring installed

The trailer hitch wiring was installed by the guy at U-Haul. It's a little awkward, as it is inside the back of the van. You have to pull the wiring through the back and lower the tailgate over it. It compresses into the gasket, but it can't be that good for the wiring.

2014-07-17

Trailer Wheels Repaired

The wheel after the repair
The wheel after the repair...the parts inside are all new

We were fortunate to know a guy who knows a guy who could come out and repair the wheels on the trailer. David and Chris completely repaired the wheels.

This is what the repair description said:

Inspected and found stuck master cylinder, leaking wheel cylinders and saturated brake shoes. Installed new brake master cylinder, both rear wheel brake assemblies, clean and repack wheel bearings with new seals. During installation one fitting broke which needed new fitting and reflared for proper seating, bleed brakes and test operations.

Cost: $843.24 + 80.11 Tax = $923.35.

2014-07-15

Trailer Hitch Installed

We had the local U-Haul install the trailer hitch. Unfortunately, the wiring wasn't in stock and had to be ordered.

Part number Product Price
HTHW Lifetime warranty 5.00
78214 Round Tube Rec. (Powder Coat) 149.95
Hitch Labor 65.00
On-Line Labor Discount -10.00
Tax 19.96
Total $229.91

2014-07-12

Catalina 22 Mast Step Repair

At the time that we bought the boat, we noted that the mast step was a little loose. The bolt and screw holding the mast step allowed the step to lift a little above the deck of the boat. Sandi had already looked into this. She wanted to put a new Mast Step Halyard Plate under the mast step anyway, giving it six points to clip various lines onto.

While we were on vacation, Sandi had ordered new stuff from Catalina Direct, including the Halyard Plate ($39.95) and a Mast Step Mounting Kit ($12.95).

She removed the mast step by unbolting it, and removing the screw that sinks through the deck into the top of the post in the cabin. We decided to use the longer of the two screws supplied as it bit into the wood a little better. Adhesive was applied and the Mast Step Halyard Plate was put down, followed by the Mast Step.

The adhesive needs five to seven days to cure, preventing us from putting the boat in the water for a while. At this point, we still do not know for sure that she floats.

Other stuff Sandi ordered:

  • Sail Tape: White Dacron 15 ft $6.53
  • Rigging Tape Self Amalgamating 19.12
  • Batten Set $24.32
  • Tension Gauge $78.00
  • West System Handy Pack Epoxy Kit $14.68
  • Teak Oil $19.95

The sail tape was needed to repair a 1" tear in the mainsail. It's a must for any sailboat maintenance kit. The batten set was ordered since two of the four mainsail battens were broken into multiple pieces. The cost of replacing just two individual battens was essentially the same as buying the entire batten replacement kit.

Warning: The new batten kit comes with fiberglass batten rods, plastic end caps, and adhesive to attach the end caps. Be very careful when handling new fiberglass batten rods—use gloves! Sandi learned the hard way that they are covered in fiberglass splinters that embedded themselves into her skin pretty much anywhere she touched them.

After getting several fiberglass splinters while gluing on the first end cap, she decided to sand them down gently with some very fine sandpaper. It worked great. No more fiberglass splinters and no need to worry when handling them to put them into or remove them from the mainsail.

We have created a page on using the Loos Tension Gauge, because the instructions may as well have been written in Rongorongo.